I'm back with another recycled project and tutorial in one.

How about a dreamcatcher?
The only money spent on this project was for the glue, and even then I already had that on hand from last school year.
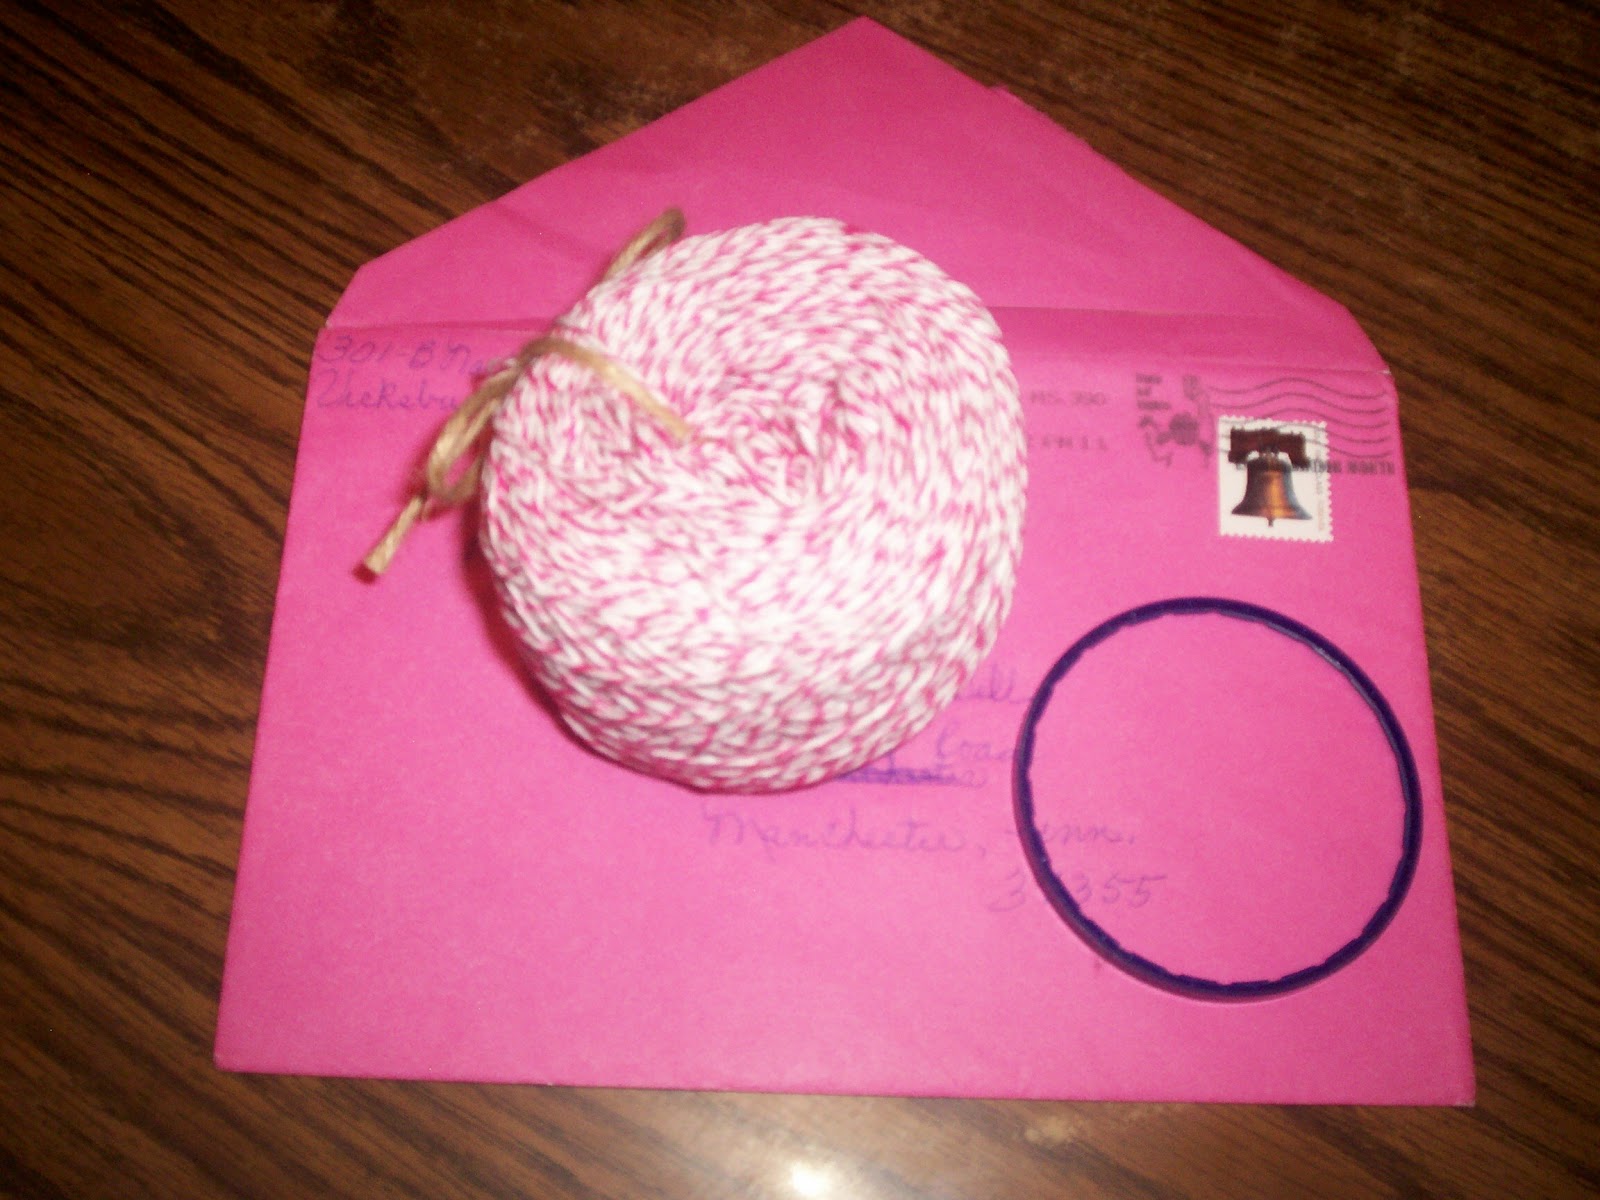
For materials, I used bakers twine that I won last year from Melissa at
Handwork Chronicles. You can visit her etsy shop
here. You can read about my win
here. I also used a ring from a mayonnaise jar and an old birthday card envelope.
For basic supplies, all you'll need is a pair of scissors and glue. I also used a rotary cutter, mat, box cutter, a very large blunt needle, tweezers, and because I got impatient, a paper shredder. Whatever works for you is fine.
I started by opening the flaps on the envelope. Using the rotary cutter, I cut one flap off and laid it aside. This will be used for the feathers.
Normally, I would have just used the rotary cutter and cut about 3 or 4 strips from the envelope, but as I already said, I got impatient and used my handy dandy shredder. Oh well, I now have plenty ready for a future quilling project.
If you look closely at the ring, it is kinda split into two connected rings with the inner one being a little slanted toward the inside.
Using my box cutter, I cut the rings apart.

This gave me two rings. The one on the right is the slanted one. I just discard it.

I then wrap one of the strips around the flat ring. No glue needed at this point. The wrapping will hold the strip in place.
I continue wrapping all the way around. It took three strips. When completed wrapping, I glued the end down. It kinda looks like silk ribbon, doesn't it?
Now, using the twine, I measured three times around the ring and cut for length. This will be used for the inside web.
I took the twine and tied it onto the ring, leaving about a 4 or 5 inch tail.
Run the twine under the ring, then over the ring, then under the twine.
It should look like this.
Move the loop back or forth to where you actually want it to be, then hold the twine tight to keep it from moving. You can actually put the loop anywhere you want. Closer to the left will give you more loops, and the right will be less. With a little practice, you'll be able to judge where you want it.
Continue making loops all the way around the ring.
When you get back to the beginning, just continue looping onto the tight part of the twine, as you can see in the photo.
It just occurred to me that I am left-handed. You may have to reverse these instructions.
I stopped at this point to make the bead. A dreamcatcher is nothing without it's bead!
I took a strip and cut it down the center to make it thinner.
Using my needle, I rolled the strip and glued it down. This needle is my favorite tool in the world! It's what I use for my quilling. You can just use a toothpick, or anything small. Just be sure that it leaves a hole big enough to thread the twine through.
Once you thread the bead on it is time to end the web. You can just tie it off and cut the excess twine off very close. What I do to make it look a little more uniform is weave it back up to the beginning point.
I give it a loop at this joint.
It then looks like this. I continue up and tie it off at the beginning tie. I then cut the twine the same length as the beginning tail. Then I tie both tails together to become the hanger.
For the length of twine for hanging the feathers, I circle the ring one time and cut. For feathers, I use the envelope flap that I had laid aside. I didn't measure, just cut the shape of two feathers. Then clipped all along both sides to kinda feather it up.
I ruffled the feathers up a little so you can see what I mean. Sorry about such a bad picture. It was supposed to look better than this.
I folded the feathers longwise to get a line down the middle, glued the twine down the back of the feathers and then tied it onto the bottom of the dreamcatcher.
Finished and hanging.
So, what do ya think? Recycling at it's best!
This post has been shared at: